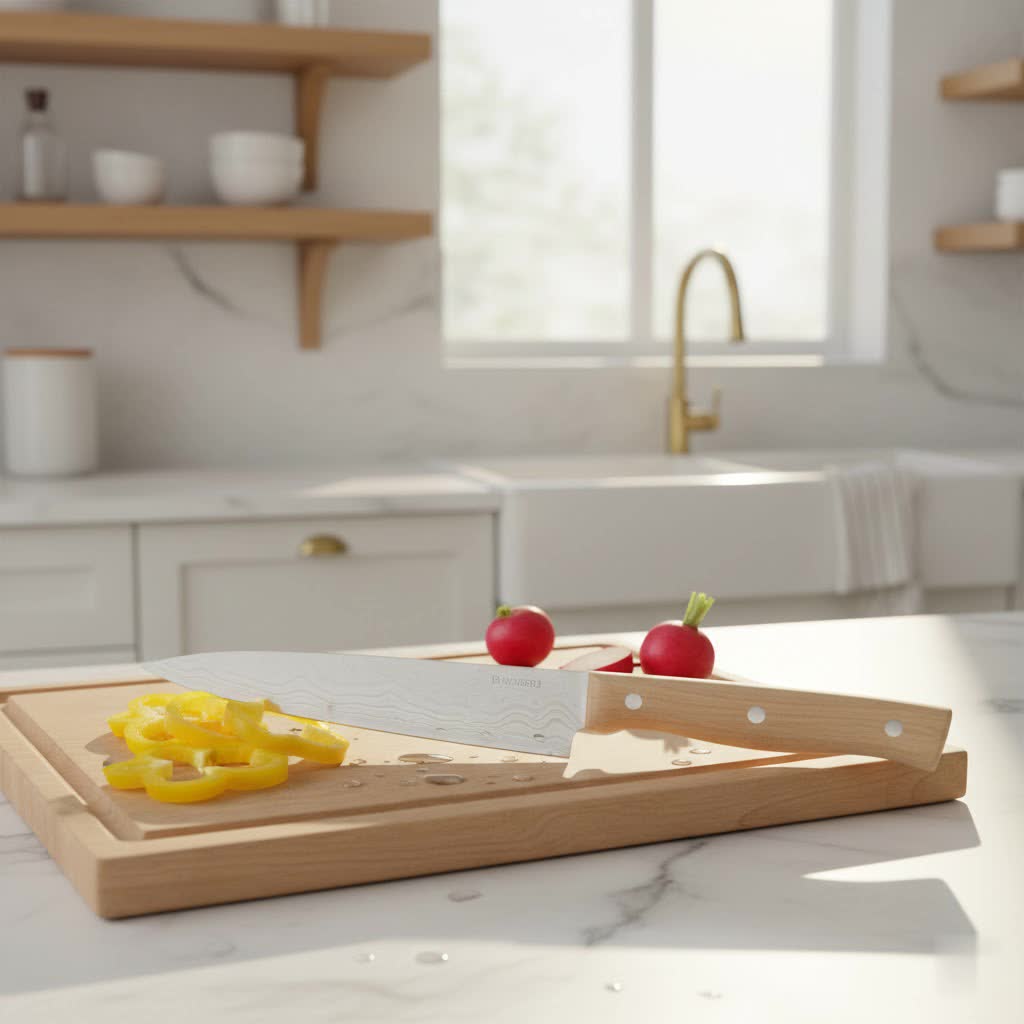
In any kitchen, a sharp knife isn’t just a convenience; it’s a cornerstone of efficiency and, more importantly, safety. Imagine effortlessly gliding through a ripe tomato or precisely dicing an onion without resistance. This isn’t a luxury reserved for professional chefs; it’s an achievable standard for every home cook. A dull blade forces you to exert more pressure, increasing the risk of slipping and causing injury – a counterintuitive but widely acknowledged truth in culinary circles. Learning how to properly sharpen and maintain your kitchen knife set transforms your cooking experience, making every cut cleaner, faster, and significantly safer. This comprehensive guide will equip you with the knowledge and techniques to achieve a razor-sharp edge, just like a seasoned culinary professional.
Why a Sharp Knife is Your Best Ally
Many believe that a dull knife is less dangerous than a sharp one, but this is a common misconception. When a knife is dull, it requires more force to cut through ingredients. This added pressure makes the blade more prone to slipping off the food and onto your fingers or counter, leading to potentially serious accidents. A sharp knife, on the other hand, bites into the food instantly with minimal effort, providing better control and reducing the chance of unwanted slips. Beyond safety, a sharp blade makes cooking tasks infinitely more enjoyable and efficient, preserving the integrity of your ingredients and making preparation a breeze. It’s the difference between wrestling with your food and gracefully preparing it.
Honing vs. Sharpening: Understanding the Difference
Before diving into techniques, it’s crucial to understand the distinction between honing and sharpening, two terms often used interchangeably but serving different purposes.
Honing is the process of realigning the microscopic burrs and folds on your knife’s edge. Over time, regular use causes the blade’s edge to bend slightly, creating a “rolled” edge that feels dull. A honing steel (or rod) pushes these microscopic imperfections back into alignment, restoring the existing edge without removing significant material. It’s a quick touch-up to maintain sharpness between sharpening sessions. You should hone your frequently used knives weekly, or even before each use.
Sharpening, conversely, is the act of grinding away a small amount of metal from the blade to create an entirely new, pristine edge. This process is necessary when honing alone no longer restores the knife’s cutting ability, indicating that the actual metal edge has been worn down or damaged. Depending on usage, most home cooks will need to sharpen their kitchen knives thoroughly once a month to every few months. For those who use their knives frequently, a monthly sharpening is a good rule of thumb.
Essential Tools for a Chef’s Edge
To achieve a professional-grade edge, selecting the right tools is paramount. Each tool plays a specific role in restoring or maintaining your knife’s sharpness.
Whetstones (Sharpening Stones)
|
Our Picks for the Best Kitchen knife set in 2026
As an Amazon Associate I earn from qualifying purchases.
|
||
| Num | Product | Action |
|---|---|---|
| 1 | 16 Piece Kitchen Knife Set with Block & Cutting Board, German Stainless Steel Knife Set with Heat-Sealed Over-molded Handles, Dishwasher Safe & Anti-Flaking Non-Stick Coating, Black |

|
| 2 | Knife Set, Astercook 15 Pieces Knife Sets for Kitchen with Block, Dishwasher Safe Kitchen Knife Set with Built in Sharpener Block, German Stainless Steel Knife Block Set, Valentine's Gift |
|
| 3 | Knife Set, Astercook 21 Pieces Knife Sets for Kitchen with Block, Dishwasher Safe Kitchen Knife Set with Built-in Sharpener, German Stainless Steel Black Knife Block Set |
|
| 4 | ZWILLING Pro RCF 5-pc Magnetic Knife Block Set, Natural |
|
| 5 | HENCKELS Statement 15-Piece Knife Set, Natural Wood Knife Block Set, Razor-Sharp Kitchen Knives, Lightweight, Dishwasher Safe |
|
| 6 | Amazon Basics 14-Piece High Carbon Stainless Steel Kitchen Knife Set with Full Tang Construction, Ergonomic Handles, Sharpener and Pinewood Block, Black |
|
| 7 | Ninja K32017 Foodi NeverDull Premium Knife System, 17 Piece Knife Block Set with Built-in Sharpener, German Stainless Steel Knives, Black |
|
| 8 | Cuisinart 15-Piece Knife Set with Block, High Carbon Stainless Steel, Forged Triple Rivet, White, C77WTR-15P |
|
| 9 | Astercook Knife Set, 13 Pieces Kitchen Knives Set with Healthy Anti-Rust Coating, Dishwasher Safe, Stainless Steel Chef Knife Sets with 6 Blade Guards, Perfect Holiday Gifts for Kitchen |
|
| 10 | XYJ Authentic Since 1986, Kitchen Knife Set with Wooden Magnetic Knife Block, Scissors, Honing Steel, Peeler, Gloves, Vegetable Slicer Cooking Bread Butcher Chef Knives |
|
Whetstones are considered the gold standard for true knife sharpening, offering the most control and the best results. They come in various grit levels, measured in numbers: lower numbers (e.g., 200-800) are coarse for repairing damaged edges or quickly removing material, while higher numbers (e.g., 1000-8000+) are fine for refining and polishing the edge. A common combination for kitchen knives is a dual-sided stone with a 1000-grit side for sharpening and a 6000-grit side for refining. Whetstones can be water-based (requiring soaking) or oil-based (requiring oil as a lubricant).
Honing Steels (Rods)
Honing steels are long rods used for maintaining the edge between sharpening sessions. They come in different materials, each with unique properties:
- Ceramic Honing Rods: Often preferred for their mild abrasiveness and fine grit, gently realigning the blade without wearing away too much metal.
- Steel Honing Rods: Best suited for softer metal knives, less effective on hard, high-carbon steels.
- Diamond Honing Rods: Highly abrasive; while fast, they can shear away the knife’s edge rather than just realigning it, potentially causing more harm if not used carefully.
Other Sharpening Tools
- Electric Sharpeners: These devices offer convenience and speed, guiding the knife through preset angles. However, they can remove a significant amount of material quickly, offering less control and potentially shortening the knife’s lifespan if overused.
- Pull-Through Sharpeners: Often found in big-box stores, these sharpeners are generally not recommended for quality knives. They have a single point of contact and can irregularly grind the edge, leading to quick wear and an inferior cutting surface.
- Leather Strops: Used as a final step after sharpening, a leather strop (often with a polishing compound) removes any remaining microscopic burr and polishes the edge to a mirror finish, achieving exceptional sharpness.
Here’s a quick comparison of popular sharpening tools:
| Tool | Purpose | Pros | Cons | Recommended Frequency |
|---|---|---|---|---|
| Whetstone | True Sharpening | Precision, best edge, versatile grits | Takes practice, more time | Monthly / Quarterly |
| Ceramic Honing Rod | Edge Realignment | Quick, gentle, maintains sharpness | Doesn’t sharpen a dull knife | Weekly / Before Use |
| Electric Sharpener | Fast Sharpening | Convenient, easy for beginners | Removes more material, less control | Infrequent / As needed |
| Leather Strop | Edge Refinement/Polish | Ultimate sharpness, removes burr | Only for finishing, doesn’t sharpen | After sharpening |
The Art of the Angle: Mastering Knife Sharpening Angles
One of the most critical aspects of knife sharpening is maintaining a consistent angle. Even with the best tools, an inconsistent angle will result in a poorly sharpened blade.
Most Western-style kitchen knives are designed to be sharpened at an angle between 15 to 20 degrees per side. Japanese knives typically have a finer angle, sometimes as low as 10-15 degrees per side, resulting in a razor-sharp but potentially more delicate edge. Some high-performance Western knives might also feature a steeper edge of 13 degrees per side, totaling a 26-degree inclusive angle. The key is consistency across the entire length of the blade.
Tips for Maintaining Your Angle:
- Use the Existing Bevel: For most knives, you can use the knife’s existing bevel (the ground angle on the blade) as a guide. Hold the knife so the entire bevel rests flat on the sharpening surface.
- Angle Guides: Many whetstones and sharpening systems come with angle guides or trainers that attach to the spine of your knife or the stone itself, making it easier to maintain the correct angle.
- Practice: Start with a less-expensive knife to practice your technique. The muscle memory will develop over time.
- Marker Method: Use a permanent marker to color the very edge of your blade. As you make a few passes on the stone, check if the marker ink is being removed evenly across the entire bevel. If not, adjust your angle.
Step-by-Step: Sharpening Your Knives with a Whetstone
Sharpening with a whetstone takes practice, but the results are unmatched. Follow these steps for a professional edge:
- Prepare Your Whetstone: If using a water stone, soak it in water until it stops bubbling (typically 5-10 minutes). Keep the surface wet throughout the sharpening process. For oil stones, apply a thin layer of honing oil.
- Start with the Coarse Grit (e.g., 1000 grit): Place the whetstone on a non-slip surface. Hold the knife at your desired angle (15-20 degrees) against the stone. Your non-dominant hand can gently rest on the blade to apply downward pressure and stabilize the knife.
- Establish the Bevel and Form a Burr:
- Side 1: Push the blade across the stone as if trying to slice a thin layer off the stone, moving from the heel to the tip of the knife in a smooth, continuous motion. Focus on maintaining a consistent angle.
- Repeat this motion 10-20 times until you feel a “burr” forming on the opposite side of the edge. A burr is a tiny wire-like curl of metal, indicating that you’ve sharpened enough to create a new apex. You can detect it by gently running your fingertip away from the edge.
- Side 2: Flip the knife and repeat the process on the other side, applying the same angle and pressure until a burr forms along the entire length of that side.
- Move to the Fine Grit (e.g., 6000 grit): Flip your whetstone to the finer side. This grit refines the edge and removes the burr.
- With much lighter pressure, make alternating passes on each side of the blade (e.g., 5 strokes on one side, then 5 strokes on the other, then 3/3, then 1/1). The goal is to gradually reduce and then eliminate the burr, leaving a clean, fine edge.
- Continue until the edge feels incredibly smooth and no burr is detectable.
- Finish with a Strop or Fine Ceramic Rod: For the ultimate razor-sharp finish, make a few light passes on a leather strop (leading with the spine, not the edge) or a very fine ceramic honing rod. This removes any remaining microscopic burr and polishes the edge.
Quick Edge Maintenance: How to Use a Honing Rod
A honing rod is your daily or weekly companion for maintaining a sharp edge. It’s less about removing metal and more about realignment.
- Secure the Rod: Place the tip of your honing rod on a non-slip surface, like a cutting board or a sturdy towel, holding it vertically or at a slight angle.
- Maintain the Angle: Hold your knife with the blade at a 15-20 degree angle to the rod. The angle should be slightly more acute than your sharpening angle (e.g., if you sharpen at 20 degrees, hone at 15-18).
- Glide the Blade: Starting near the handle, glide the entire length of the blade down the rod in a smooth, sweeping motion, ending at the tip. Apply light, consistent pressure.
- Alternate Sides: Repeat this motion 5-10 times on each side of the blade, alternating sides after each pass. You should feel the blade “catch” or resist slightly as the rod realigns the edge.
Beyond Sharpening: Daily Care for Lasting Sharpness
Achieving a sharp edge is only half the battle; proper care ensures it lasts. Implement these habits to prolong your knives’ sharpness and lifespan.
- Proper Storage: Never toss your knives loosely into a drawer. They can bang against other utensils, dulling the edge and posing a safety hazard. Invest in a knife block, a magnetic knife strip, or individual blade guards/sheaths. These methods protect the edge from impact and keep it sharp.
- Handwash Immediately: Always handwash your knives with warm, soapy water immediately after use. The harsh detergents, high heat, and jostling action of a dishwasher can dull edges, corrode blades, and damage handles. Dry your knives thoroughly with a towel right away to prevent water spots and rust, especially on carbon steel blades.
- Choose the Right Cutting Surface: The surface you cut on significantly impacts edge retention. Always use cutting boards made from wood, high-density plastic, or silicone. Avoid hard surfaces like glass, stone, ceramic, or metal countertops, as these will quickly dull and damage your knife’s edge.
- Blade Conditioning: For high-carbon steel knives or those exposed to moisture, consider regularly applying a food-safe mineral oil or knife wax. This creates a protective barrier against rust and corrosion, keeping your blades in prime condition.
How to Test Your Knife’s Sharpness
After sharpening, you’ll want to confirm your efforts have paid off. The simplest and safest method for testing sharpness is the paper test.
Hold a piece of thin paper (like newspaper or a receipt) vertically by one edge. Place the knife’s edge against the top of the paper, near your fingers, at a slight angle, and try to slice through it. A truly sharp knife will glide through the paper cleanly and effortlessly, without catching, tearing, or bending the paper. If the knife snags or fails to cut smoothly, it indicates areas that need further refinement. Avoid testing on your fingernail, as this can be dangerous and doesn’t provide a comprehensive assessment.
Conclusion
Mastering the art of sharpening your kitchen knife set is a skill that will profoundly impact your culinary journey. From the enhanced safety of a sharp blade to the sheer pleasure of effortless cutting, investing time in understanding and practicing these techniques will elevate your cooking experience to that of a professional chef. Remember the crucial difference between honing for daily maintenance and sharpening for restoring a true edge, and always prioritize the right tools and consistent angles. With proper care and regular attention, your knives will not only serve you better but will last a lifetime. Are you ready to take control of your kitchen and embrace the precision of a perfectly sharpened blade?
Frequently Asked Questions
How often should I sharpen my kitchen knives?
For knives used frequently, a good rule of thumb is to sharpen them thoroughly with a whetstone once a month. However, you should hone your knives weekly, or even before each use, to realign the edge and maintain sharpness between full sharpening sessions. This routine ensures your blades are always performing at their best.
What’s the difference between honing and sharpening?
Honing realigns the microscopic edge of your knife, pushing any bent metal back into place without removing material. Sharpening, conversely, grinds away a small amount of metal to create an entirely new, sharp cutting edge. Honing maintains sharpness, while sharpening restores it when the knife becomes truly dull.
What is the ideal sharpening angle for kitchen knives?
Most Western kitchen knives perform best when sharpened at an angle between 15 to 20 degrees per side. Japanese knives often use a finer angle (10-15 degrees per side). The most important factor is maintaining a consistent angle throughout the entire sharpening process to ensure a uniform and effective edge.
Can I use an electric sharpener for my kitchen knives?
While electric sharpeners offer convenience and speed, they can remove a significant amount of blade material quickly and provide less control over the precise sharpening angle. For optimal edge quality and to prolong the life of your high-quality kitchen knives, traditional methods like whetstone sharpening are generally preferred by chefs.
How do I know if my knife is sharp enough?
The most reliable and safe way to test your knife’s sharpness is the paper test. Hold a piece of newspaper or thin paper vertically and try to slice through it. A truly sharp knife will cut cleanly and effortlessly without tearing or catching. If it snags or struggles, further sharpening or refining is needed.