A trusty kitchen knife is more than just a tool; it’s an extension of your culinary hand. So, when you discover a chip marring its sharp edge, it can feel like a genuine kitchen crisis. Whether it’s a tiny nick from an accidental encounter with a bone or a more significant chunk missing from the tip, a chipped blade compromises performance and can even be a safety hazard. But don’t panic – most chipped knives can be expertly restored at home, bringing them back to life without ever compromising their integrity.
This comprehensive guide will walk you through everything you need to know about fixing a chipped knife blade, from assessing the damage to the step-by-step repair process and essential prevention tips. You’ll learn how to approach the repair safely and effectively, ensuring your cherished knives remain reliable companions in your kitchen for years to come.
Understanding Your Knife’s Damage: When to DIY and When to Seek a Pro
Before you grab your sharpening stones, it’s crucial to properly assess the damage to your knife blade. Not all imperfections are true “chips,” and some severe damage warrants professional attention rather than a DIY fix.
Types of Edge Damage:
- Rolled Edge/Dent: This isn’t a true chip where metal is missing, but rather a section of the blade’s edge that has bent sideways. It often feels dull and “catches” when cutting. These are typically easier to fix.
- Edge Chip: Small pieces of metal have broken away from the cutting edge, creating a noticeable gap or unevenness. These are the most common type of chip you’ll encounter.
- Broken Tip: The very end of the knife blade has snapped off, usually due to impact or misuse. This requires more extensive reprofiling.
When to Seek Professional Help:
While many chips can be fixed at home, some situations call for a professional knife sharpener or repair service to ensure safety and optimal restoration. Consider professional help if:
- Chips are larger than 2mm: Removing this much material at home can be challenging and might drastically alter the blade’s profile.
- Multiple deep chips: Extensive damage across the blade might indicate a deeper issue or require specialized tools.
- Cracks in the blade: Any crack, especially near the handle, severely compromises the knife’s structural integrity and can lead to dangerous breakage during use or repair.
- Severe bends or twists: If the blade is bent beyond 10 degrees, the steel’s properties might be compromised, making at-home straightening risky.
For minor to moderate chips and broken tips, however, you absolutely can bring your knife back to its prime right in your own kitchen.
Essential Tools for Blade Repair
Successfully fixing a chipped knife blade relies on having the right tools. Here’s what you’ll typically need:
- Coarse Sharpening Stone (Whetstone or Diamond Plate): This is your primary tool for removing chipped material. Look for a low grit size, such as 120, 200, or 400 grit. Diamond plates are generally faster and more aggressive for removing significant steel.
- Medium Grit Sharpening Stone: After removing the chip, you’ll use a medium stone (e.g., 800-1000 grit) to refine the newly formed edge and remove scratches from the coarse stone.
- Fine Grit Sharpening Stone (Optional but Recommended): For a truly razor-sharp edge, finish with a fine grit stone (2000-6000 grit).
- Honing Rod/Steel: Useful for straightening a rolled edge, but not effective for removing actual chips.
- Permanent Marker: For marking the chipped area or outlining a new blade profile.
- Paper: To trace blade profiles for significant tip repairs.
- Water: Essential for lubricating whetstones and clearing away swarf (metal particles).
- Stable Workspace: A non-slip surface to safely secure your sharpening stones.
- Safety Gloves: To protect your hands.
Step-by-Step Guide to Fixing a Chipped Knife Blade
The core principle of fixing a chipped blade is to remove enough steel until the chip is gone and a new, even edge is formed. Patience and consistency are key to achieving a smooth, functional result.
1. Prepare Your Workspace and Blade
Table is empty.Find a well-lit, stable surface where you can work comfortably and safely. Ensure your sharpening stones are soaked in water (if they are water stones) or ready for use with water if they are diamond plates. Clean your knife blade thoroughly.
2. Mark the Chipped Area
Use a permanent marker to blacken the entire chipped section of the blade’s edge. This visual guide will help you see where you need to remove material and when the chip has been completely ground out.
3. Grind Away the Chip with a Coarse Stone
This is the most critical step. You’ll need to remove material from the blade until the marked chip disappears and the edge is smooth and continuous again.
- Choose Your Angle: Hold the knife at a consistent, slightly steeper angle than its original sharpening angle. This allows you to focus the grinding on the chipped area without removing excessive material from the rest of the blade. For most kitchen knives, an angle between 15-20 degrees per side is common. Maintain this angle throughout the process.
- Controlled Strokes: Place the chipped section of the blade onto the coarse stone. Apply steady, moderate pressure as you push or pull the blade across the stone. The goal is to gradually wear down the steel until the deepest part of the chip is gone.
- Work Both Sides Evenly: To maintain the blade’s symmetry and prevent distortion, alternate between grinding each side of the blade. For example, make 3-5 strokes on one side, then flip the knife and make 3-5 strokes on the other. This ensures you’re removing material evenly.
- Maintain Profile: As you grind, move the knife along the full length of the blade, even the unchipped parts, to gradually reduce the height of the entire edge. This prevents creating a “dip” or uneven profile where the chip was located. This method ensures a smooth, continuous curve.
- Be Patient: This step can take time, especially for larger chips. Keep checking your progress against the marked area. You’ll see the marker disappear as steel is removed. Continue until the chip is completely gone and the blade’s edge is uniform.
4. Repairing a Broken Tip (Reprofiling)
If your knife has a broken tip, the process is similar but requires reshaping the entire end of the blade.
- Create a Template: Place your knife on a piece of paper and trace its undamaged profile. Then, sketch a new, natural-looking tip or curve that encompasses the broken area. Cut out this template.
- Mark the New Profile: Lay the paper template back onto your knife and use a permanent marker to transfer the new outline onto the blade.
- Grind Down to the New Outline: Using your coarse diamond plate or sharpening stone, carefully grind the excess steel from the spine (top) or the cutting edge (bottom) until you reach the marked line of your new profile.
- Spine Method: Grinding from the top of the blade preserves more of the blade’s original length.
- Edge Method: Grinding from the cutting edge is often easier but can reduce blade height and potentially thicken the blade behind the new edge, requiring further thinning later.
- Refine the New Tip: Once the new profile is established, treat it like a large chip, moving to the next sharpening steps.
5. Refine the Edge with Finer Grit Stones
Once the chip is completely removed and the edge profile is smooth, it’s time to refine and sharpen the blade.
- Medium Grit (800-1000): Switch to your medium grit stone. Using the same consistent angle, make alternating strokes on both sides of the blade. This step removes the coarser scratches from the previous stone and begins to establish a sharper edge.
- Fine Grit (2000+): For a truly keen edge, proceed to your fine grit stones. Continue with light, consistent strokes, reducing the pressure with each pass. This step polishes the edge, making it incredibly sharp.
6. Hone and Strop for a Razor Edge
A honing rod will help align any micro-burrs on the new edge, making it straighter and seemingly sharper. For the ultimate finish, a leather strop loaded with polishing compound will remove the finest burrs and polish the edge to a mirror finish, maximizing its cutting ability.
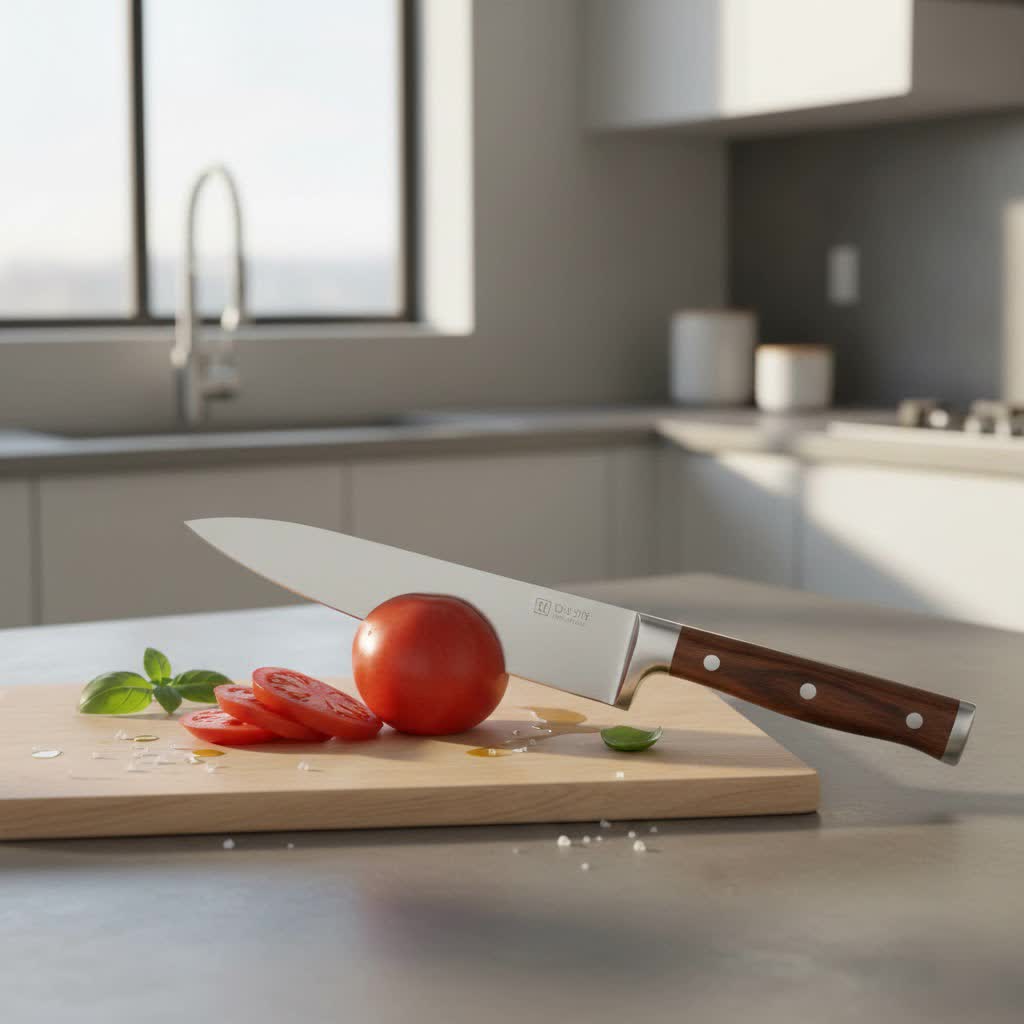
7. Test for Sharpness
Carefully test your newly repaired knife. It should glide through a sheet of paper or easily slice through a ripe tomato without tearing. If it catches or drags, return to a finer grit stone for further refinement.
Preventing Future Chips
A well-maintained knife is less prone to chipping. Here are some best practices to keep your blades pristine:
- Use the Right Knife for the Job: Avoid using delicate chef’s knives on hard items like bones, frozen foods, or dense gourds. Use a cleaver or a robust utility knife for tougher tasks.
- Cut on Appropriate Surfaces: Always use a wooden or plastic cutting board. Avoid cutting directly on glass, stone, metal, or ceramic, as these materials will dull and chip your blade.
- Avoid Twisting or Prying: Never twist your knife blade while cutting or use it as a pry tool. Side-to-side force is a common cause of chipping and tip breakage.
- Hand Wash Immediately: After use, hand wash your knives with warm, soapy water and dry them thoroughly. Dishwashers can cause knives to bang against other utensils, leading to chips, and harsh detergents can damage the blade and handle.
- Proper Storage: Store your knives safely in a knife block, on a magnetic strip, in a blade guard, or in a knife roll. This prevents them from clanking against other tools and dulling or chipping.
- Regular Sharpening and Honing: Keeping your knives regularly sharpened and honed maintains their edge integrity and makes them less susceptible to damage. A well-maintained edge is a resilient edge.
“A sharp knife is a safe knife, and a well-cared-for blade is a long-lasting one. Investing time in proper technique and maintenance will save you countless headaches—and potentially costly replacements—in the long run.”
Conclusion
A chipped knife blade doesn’t spell the end for your trusted kitchen companion. With the right tools, a bit of patience, and a steady hand, you can effectively repair most chips and restore your knife’s functionality. Remember, the key is to remove material gradually and evenly, maintaining the blade’s original profile as much as possible, and always prioritizing safety. By understanding the causes of chipping and adopting preventative measures, you can ensure your knives remain sharp, reliable, and chip-free for years of enjoyable cooking.
What’s the most unusual thing you’ve ever accidentally chipped your knife on?
Frequently Asked Questions
Can I use an electric sharpener to fix a chipped knife?
While electric sharpeners can be convenient for general sharpening, they can remove a lot of material quickly and unevenly, making them less ideal for precise chip repair. Manual sharpening stones offer more control, allowing you to carefully grind away only the necessary amount of steel without compromising the blade’s geometry.
How do I know if my sharpening angle is consistent?
Practicing on a less valuable knife first can help. You can also use an angle guide or jig designed for sharpening, or mark the bevel with a marker; if your angle is correct, the marker will be removed evenly across the bevel during sharpening.
What if I make the chip worse during repair?
It’s possible, especially for beginners. The best approach is to stop, reassess the damage, and either restart with more caution or consider sending the knife to a professional. Small errors can often be corrected with further careful grinding.